HARDWARE
Attach the lower tower section to the base from the bottom. (Easiest to stand the lower tower upside down to easier balance the base while bolting. Tower doors should open right to left when upright.
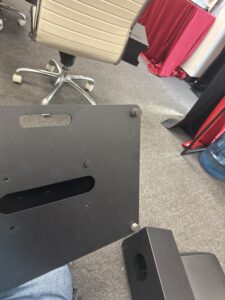
Add the upper tower section to the lower section and bolt.
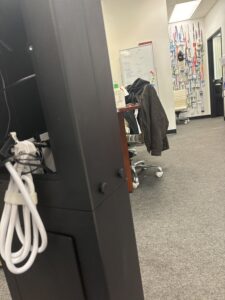
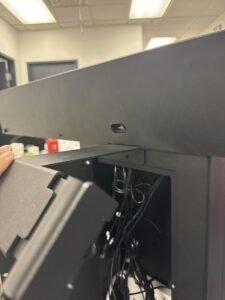
Place the camera shelf on the upper tower, making sure to feed all the cables carefully through the top of the upper tower into the tower body.

Bring the camera shelf to rest on top of the tower by fitting it in the hole/cut out in the lip (on the underside of the camera shelf). Ensure it is completely in and that the camera shelf sits level.
Secure with the four bolts on the top.
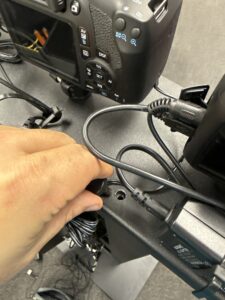
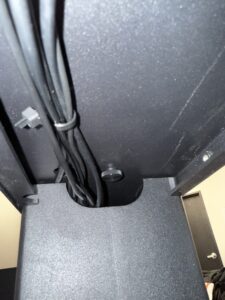
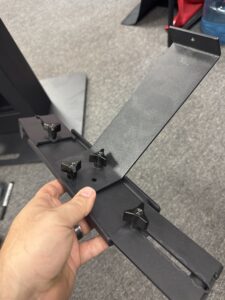
If using the laptop shelf, assemble it, attaching the tray to the arm. Attach the shelf to the upper tower, to the bolt hole just below the camera shelf.
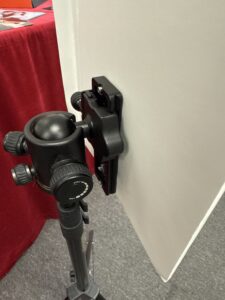
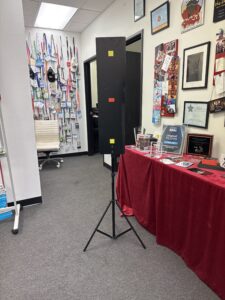
Set up the calibration board wherever your photo depth and center point will be located. About 10 toe-to-heel steps is a decent area. Add a ball joint to a light stand, slide the calibration board onto the ball joint so that it faces forward. The red square should be about neck hight roughly.
WIRING
You’ll have three sets of cables (hanging from the camera shelf, into the top of the upper tower).
- Sync cords. (Not used in current set up. Set aside)
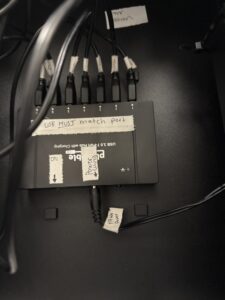
- USB
- Power
Each power cord and each USB should be numbered one through seven.
As well, their plugs and outlets should also be number one through seven.
Be sure to plug each number into its correct outlet and port.

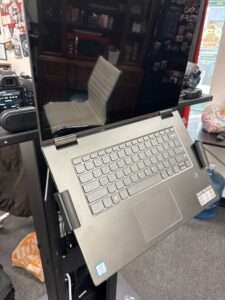
Add the laptop by opening it, holding it in place between the cushions, sliding the arms in as tight as possible, and tightening the bolts underneath.
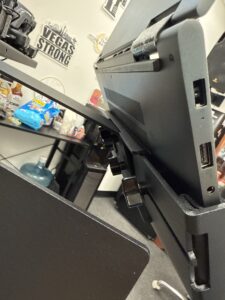
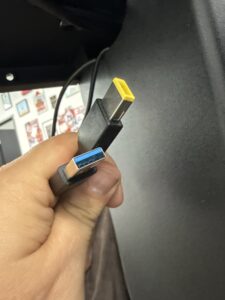
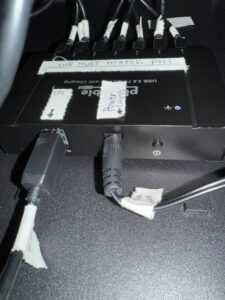
Thread the power for the laptop and the hub cord from insight out .
Plug each end of both into their respective ports
Remove the camera cover and place aside. (Note: We do NOT use this during the event because it does not fit with the cameras mounted to the ball joints).
SOFTWARE SET UP
Turn on the USB hub by pressing the button on the bottom right corner. The blue light should turn on.
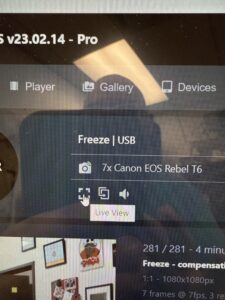
Turn in the laptop and open Xangle.
In dashboard, select live view under the cameras
Go through each camera, one at a time by selecting the cameras at the top to turn on the live view, then carefully adjusting the camera to put the red crosshair in the Redbox on the calibration board, as centered as possible, with the vertical lines running through the center of the yellow boxes.
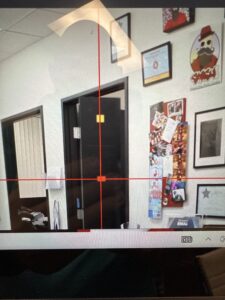
Once you’re done with seven, go back to number one, and I will check each one because they often shift or get bumped while calibrating cameras next to them.
Next, go to calibration in the top bar and tap “trigger”.
Now expand the heading “detection “
Under “zone”, move and resize the pink boxes to capture the yellow boxes, as well as the black border on the calibration board.

Next, under color select “Top “and use the color picker over the top yellow box to ensure the correct yellow is selected.
Repeat this for the bottom box.
Tap “recalibrate”. All the cameras and the graph below should turn green.
(If the graph below isn’t green, you can manually calibrate by clicking on each camera and adjusting the box manually and Click regenerate.)
Expanded the player tab and review
If all is perfect, head back to the dashboard.
Links:
Software Documentation
Playback
Branding
Trigger Modes